
Our Off Grid Trailer Expedition 2.0 Modifications. Descriptions and links for each modification are listed. Part of the fun of getting a new trailer is making it your own.
Here’s what we have done so far: (We’ve been busy!) (Updated July 21,2020)
- A complete gear review and overhaul.
- Added – aircraft-style L Track cargo strap mounts to the front storage rack
- Added – mat to the front storage area to keep gear from slipping or causing damage to the trailer box
- Added – Renogy MPPT solar controller to the trailer
- Swapped the factory rims for FJ rims and larger 33” tires.
- Added – hooks in the cabin to hang hats and jackets
- Added – 2 push-button lights. One in the cabin and one in the battery box.
- Added – 2 rechargeable lights that have a motion sensor and a daylight sensor. These are using in the fridge area and back galley. They work great.
- Added – 23 Zero Peregrine 270 Awning with walls to the passenger side of the trailer
- Added – 23 Zero Shower tent to the driver side of the trailer
- Added – XO Jack – 2 wheeled trailer jack
- Added – storage cubbies in the cabin
- Added – spare tire carrier to factory roof rack
- Added – BlueSea power port to dropdown kitchen
- Added – Motion Sensing Light Bar to kitchen box
- Swapped – Interior factory charging port for more powerful BlueSea 4.8a dual USB charging port
- Added – Interior thermometer to compare cabin temp with heater reading
- Added – Awning pole holder to roof rack
- Added – Indoor and outdoor bluetooth thermometers
- Added – Led strip lights to the galley and cabin
- Added – OGT Swingout arm for the 23Zero shower room
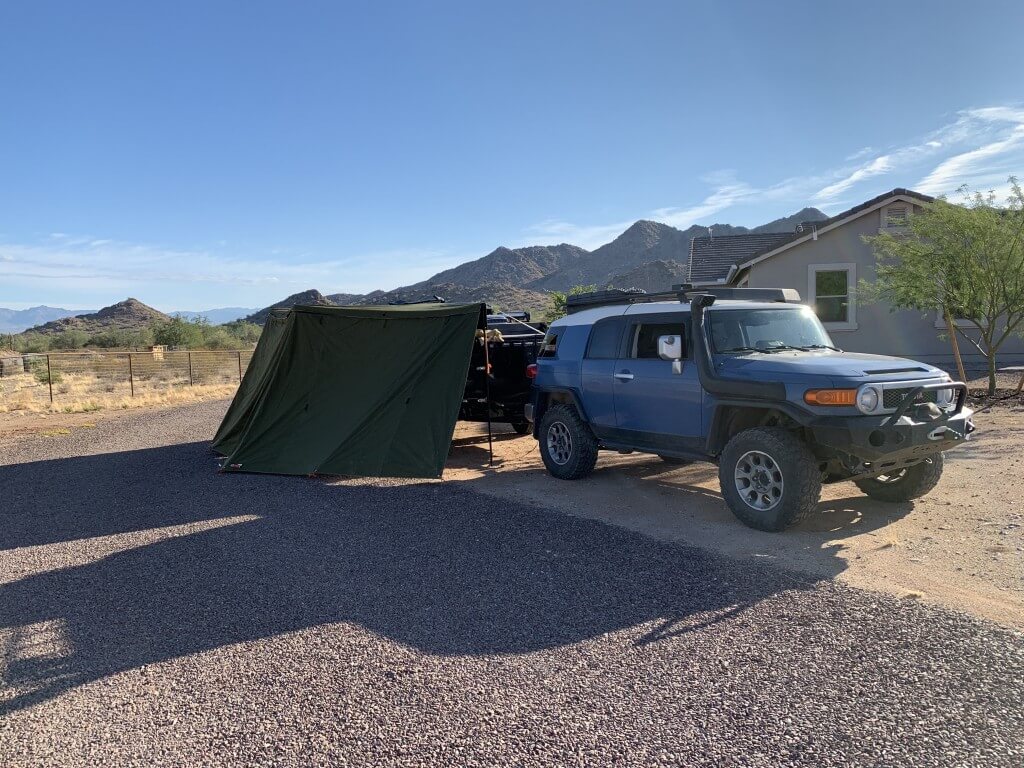
- Added – Ironman 4×4 2500×2500 awning and room
Note: We are not sponsored by any of these companies. These are products we believe in, have tested, and support.
Storage:
We have an entire blog post about our favorite storage options. There are many good options.
Some of our old gear didn’t apply to this new setup. Some needed to change where it was stored. It is always good to go through your gear at least once per year to see what you use and what you don’t. Because we have so much gear only a few new containers were required. It was really a matter of repurposing some. If you are close to an Ikea the more robust airtight storage containers they offer are nice and inexpensive.
For the back of the trailer we have it nearly perfected. Shown in an Iris watertight box we use for food storage. The Front Runner Wolfpack boxes also fit. The goal is to not have this entirely full. That way we can add dry goods for each trip. Yes, we own a label maker and use it! If a box isn’t clear we want to be able to easily tell what is inside.
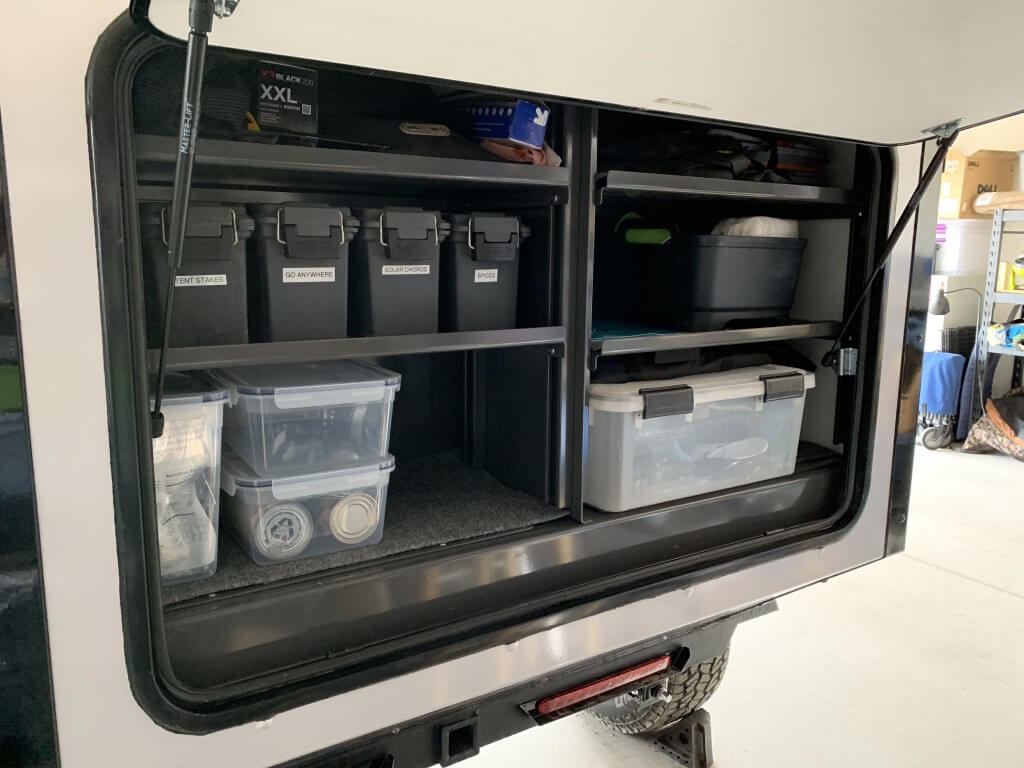
Ammo cans, Ikea containers, Iris storage tub, and a Wash & Drain basin/tub.
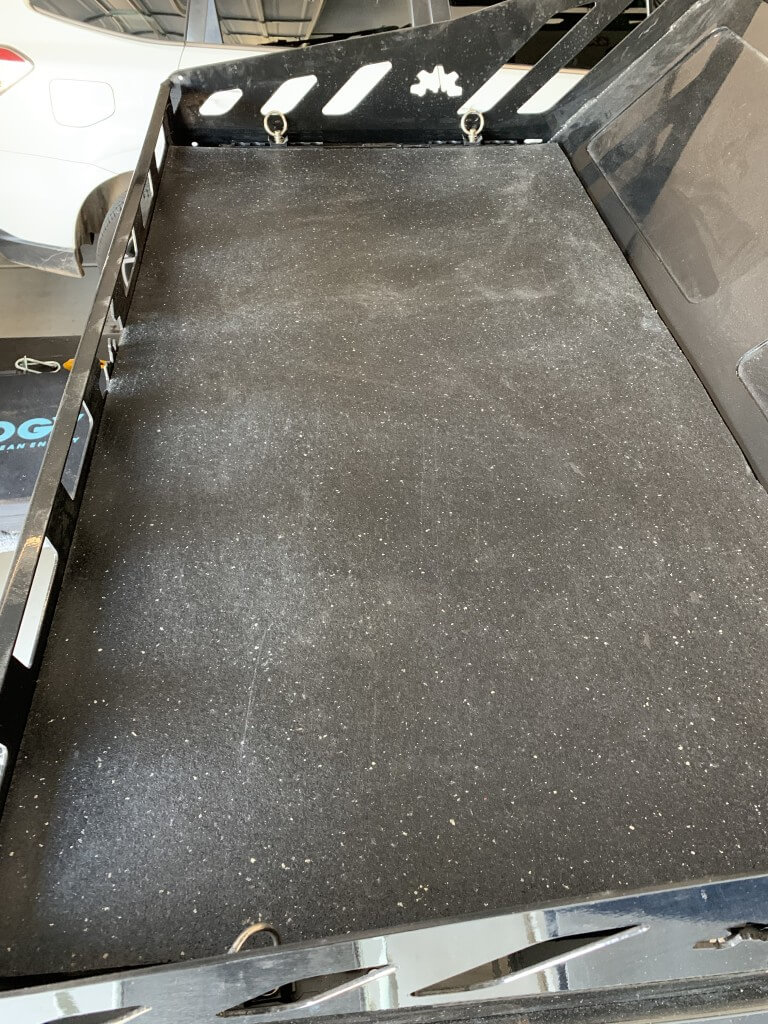
Front Cargo Area:
We wanted an efficient way to secure our gear in the upper storage area of the front box. This rack is an option from Off Grid. One that everyone should have. This is a great place to store miscellaneous gear. We are storing our table, solar suitcase, and mats. This is also a perfect place to store firewood and a second propane tank for a propane campfire. The L tracks and anchors are from US Cargo Control. The mat is from Tractor Supply. Use your favorite straps and you are ready to go. We are currently giving Rok Straps by PU-Products a try.
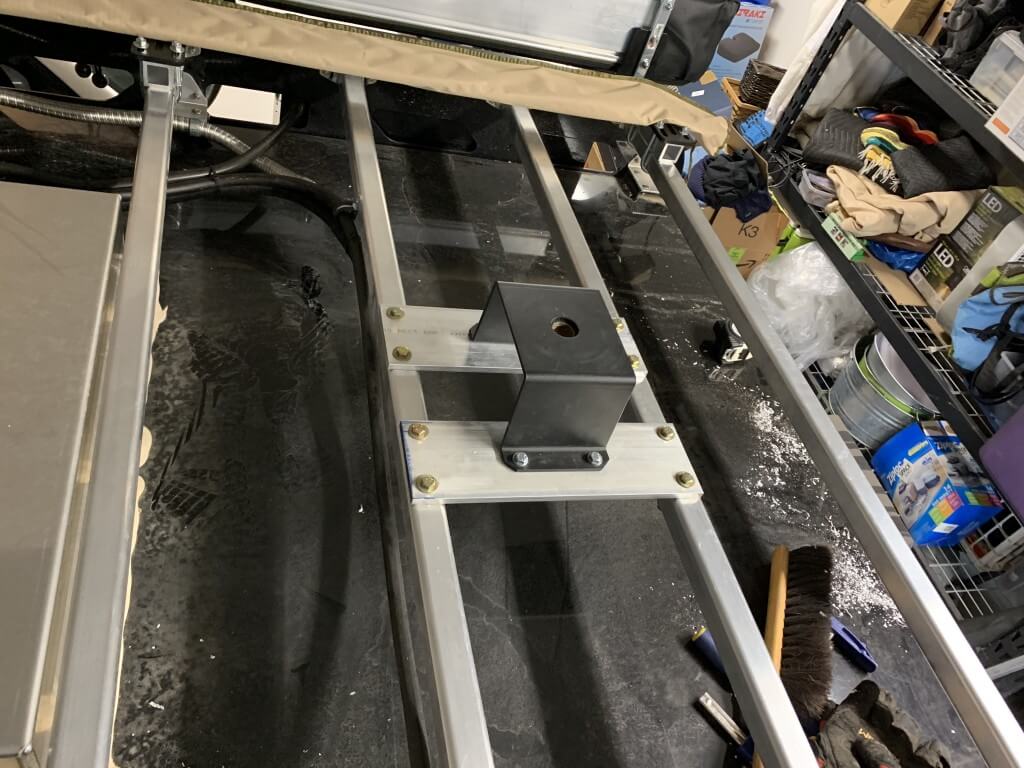
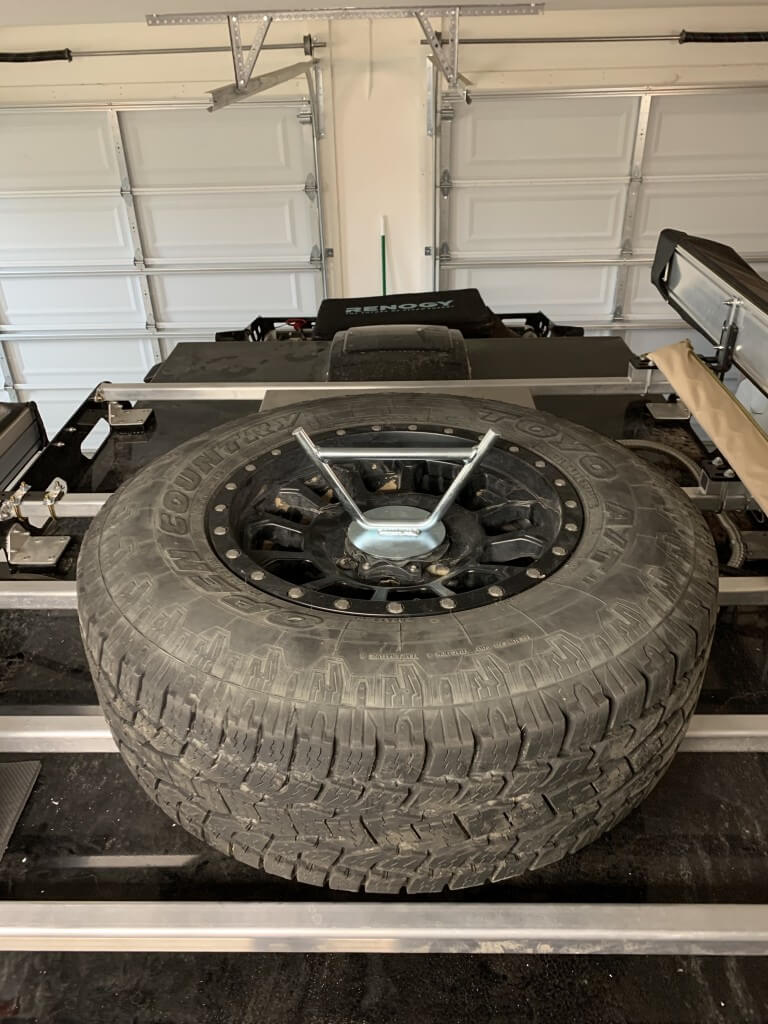
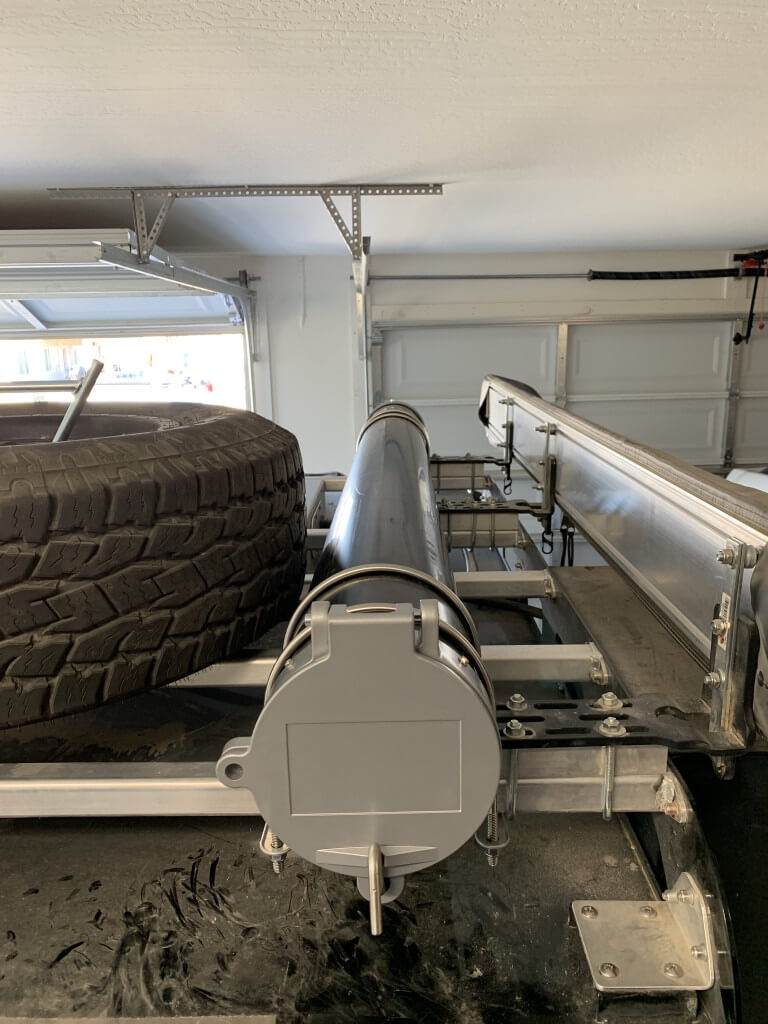
Spare Tire Mount:
Because our FJ has a swing out door it limits the ability to use the front box spare tire mount. Since we do not have an RTT adding a spare tire mount to the roof rack made the most sense for us. I had an existing Warrior Roof Rack spare tire mount for the FJ Cruiser. It needed to be modifed to fit the greater distance of the trailer rack bars. I chose to use 2 pieces of 3/8″ thick aluminum. The end product turned out great. It was just test on the Mojave Road with no issues.
Awning Pole Holder:
Another convenience item has been added to the trailer. This is a 6″ diameter 72″ long PVC pipe awning pole holder. Fishing poles might work too. Reese makes the end cap kit which can be purchased on Amazon. You can add a lock to the end cap if you desire. We were storing the poles in the trailer cabin. While not a big deal it is nice to have nothing in the way of crawling in and going to sleep.
Yes, the trailer is dirty. It gets used!
Electrical Modifications:
Solar Controller:
Our personal preference is to have a solar controller inside of the trailer vs on the panel. For this trailer, we went with a more robust MPPT controller from Renogy. The Rover LI 20 Amp controller with Bluetooth module.
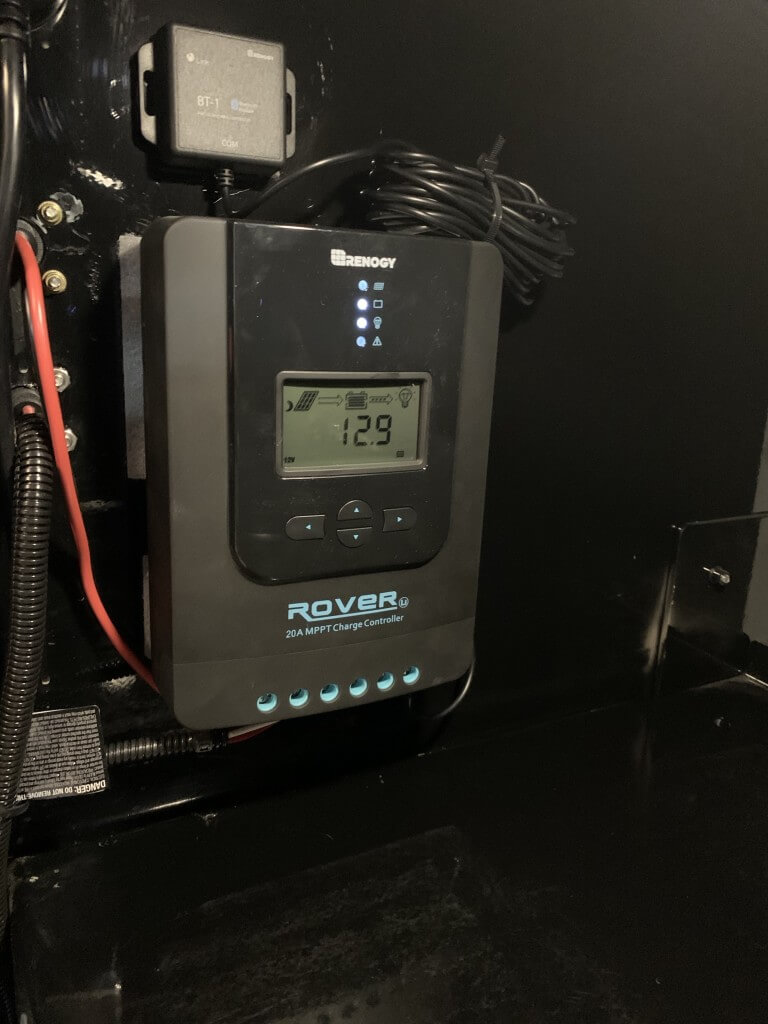
Renogy Rover MPPT controller with Bluetooth Module
The trailer is “solar ready.” Off Grid has provided a Zamp style SAE port on the front box to connect your panel(s), with an attached controller, to the trailer.
We have a 100-watt solar suitcase from Renogy. It has worked well for years. What is great about this new controller is the Bluetooth module. You can monitor solar performance and power consumption from a free app on your smartphone. To make this modification all we had to do was split the wiring for the SEA plug between the battery and the wiring inside the front box. The controller is mounted with extreme Velcro(TM).
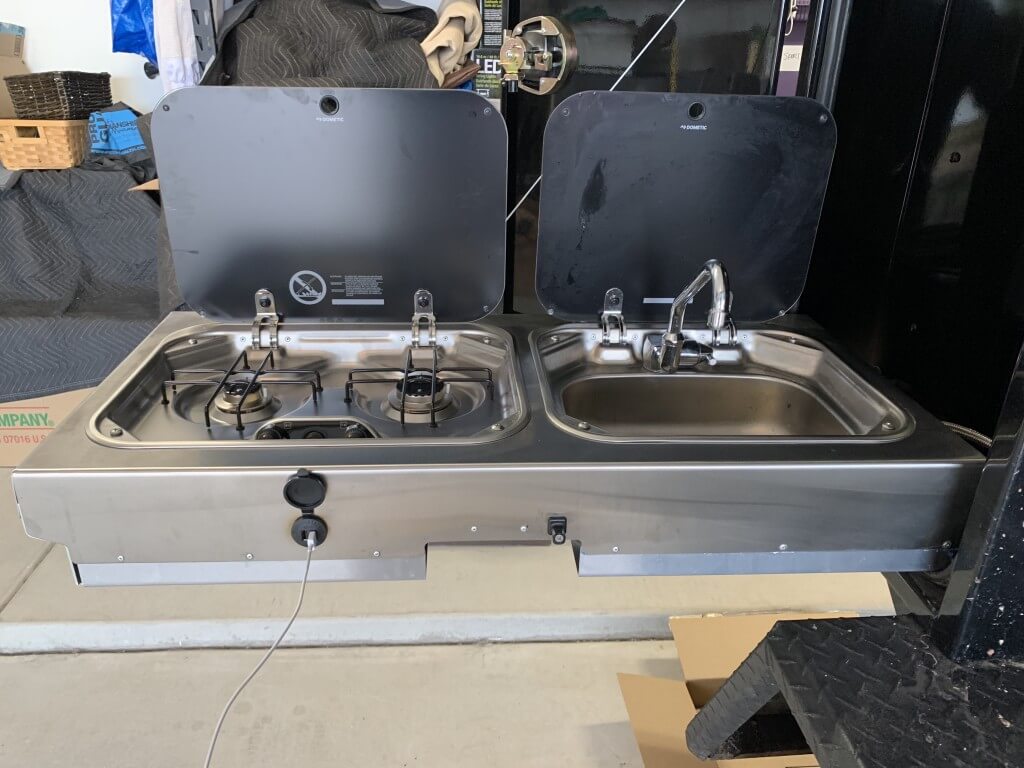
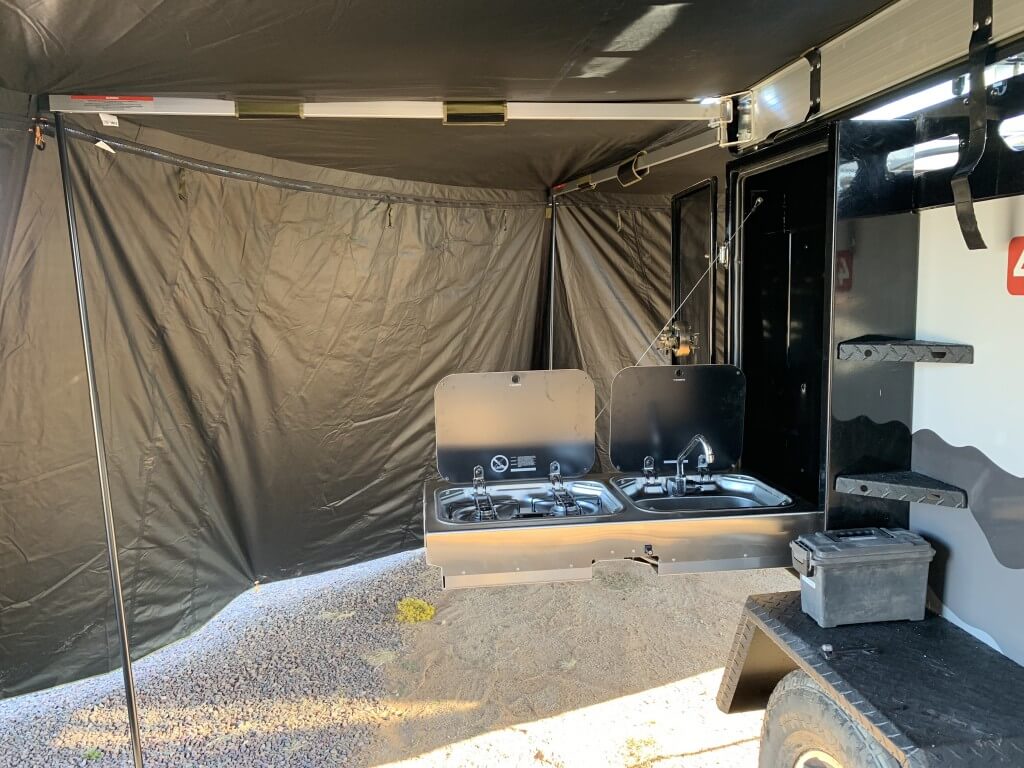
Kitchen Power:
We wanted to have a power port in the kitchen area. While researching wiring options I came across the factory wiring for the optional bluetooth radio. The wiring was tucked neatly by the water pump below the main access panel in the kitchen. All I had to was route the wires and add a couple of blade connectors. Driling into the stainless steel cabinet takes some effort. You will want a good quality step bit and cutting oil to keep the temperatures down. The end product looks great. The BlueSea 4.8a dual usb port can charge an iPad while running. Your standard 2.1a cannot do this.
Lighting:
We added a few stick-on push-button lights. One inside the cabin and one by the solar controller. They are multi-color. So with each push, you go from white to red to blue to green and then off. I like the red option to reduce bug attraction. The particular lights we chose are from Amazon. The lower LED brightness is perfect for after dark.
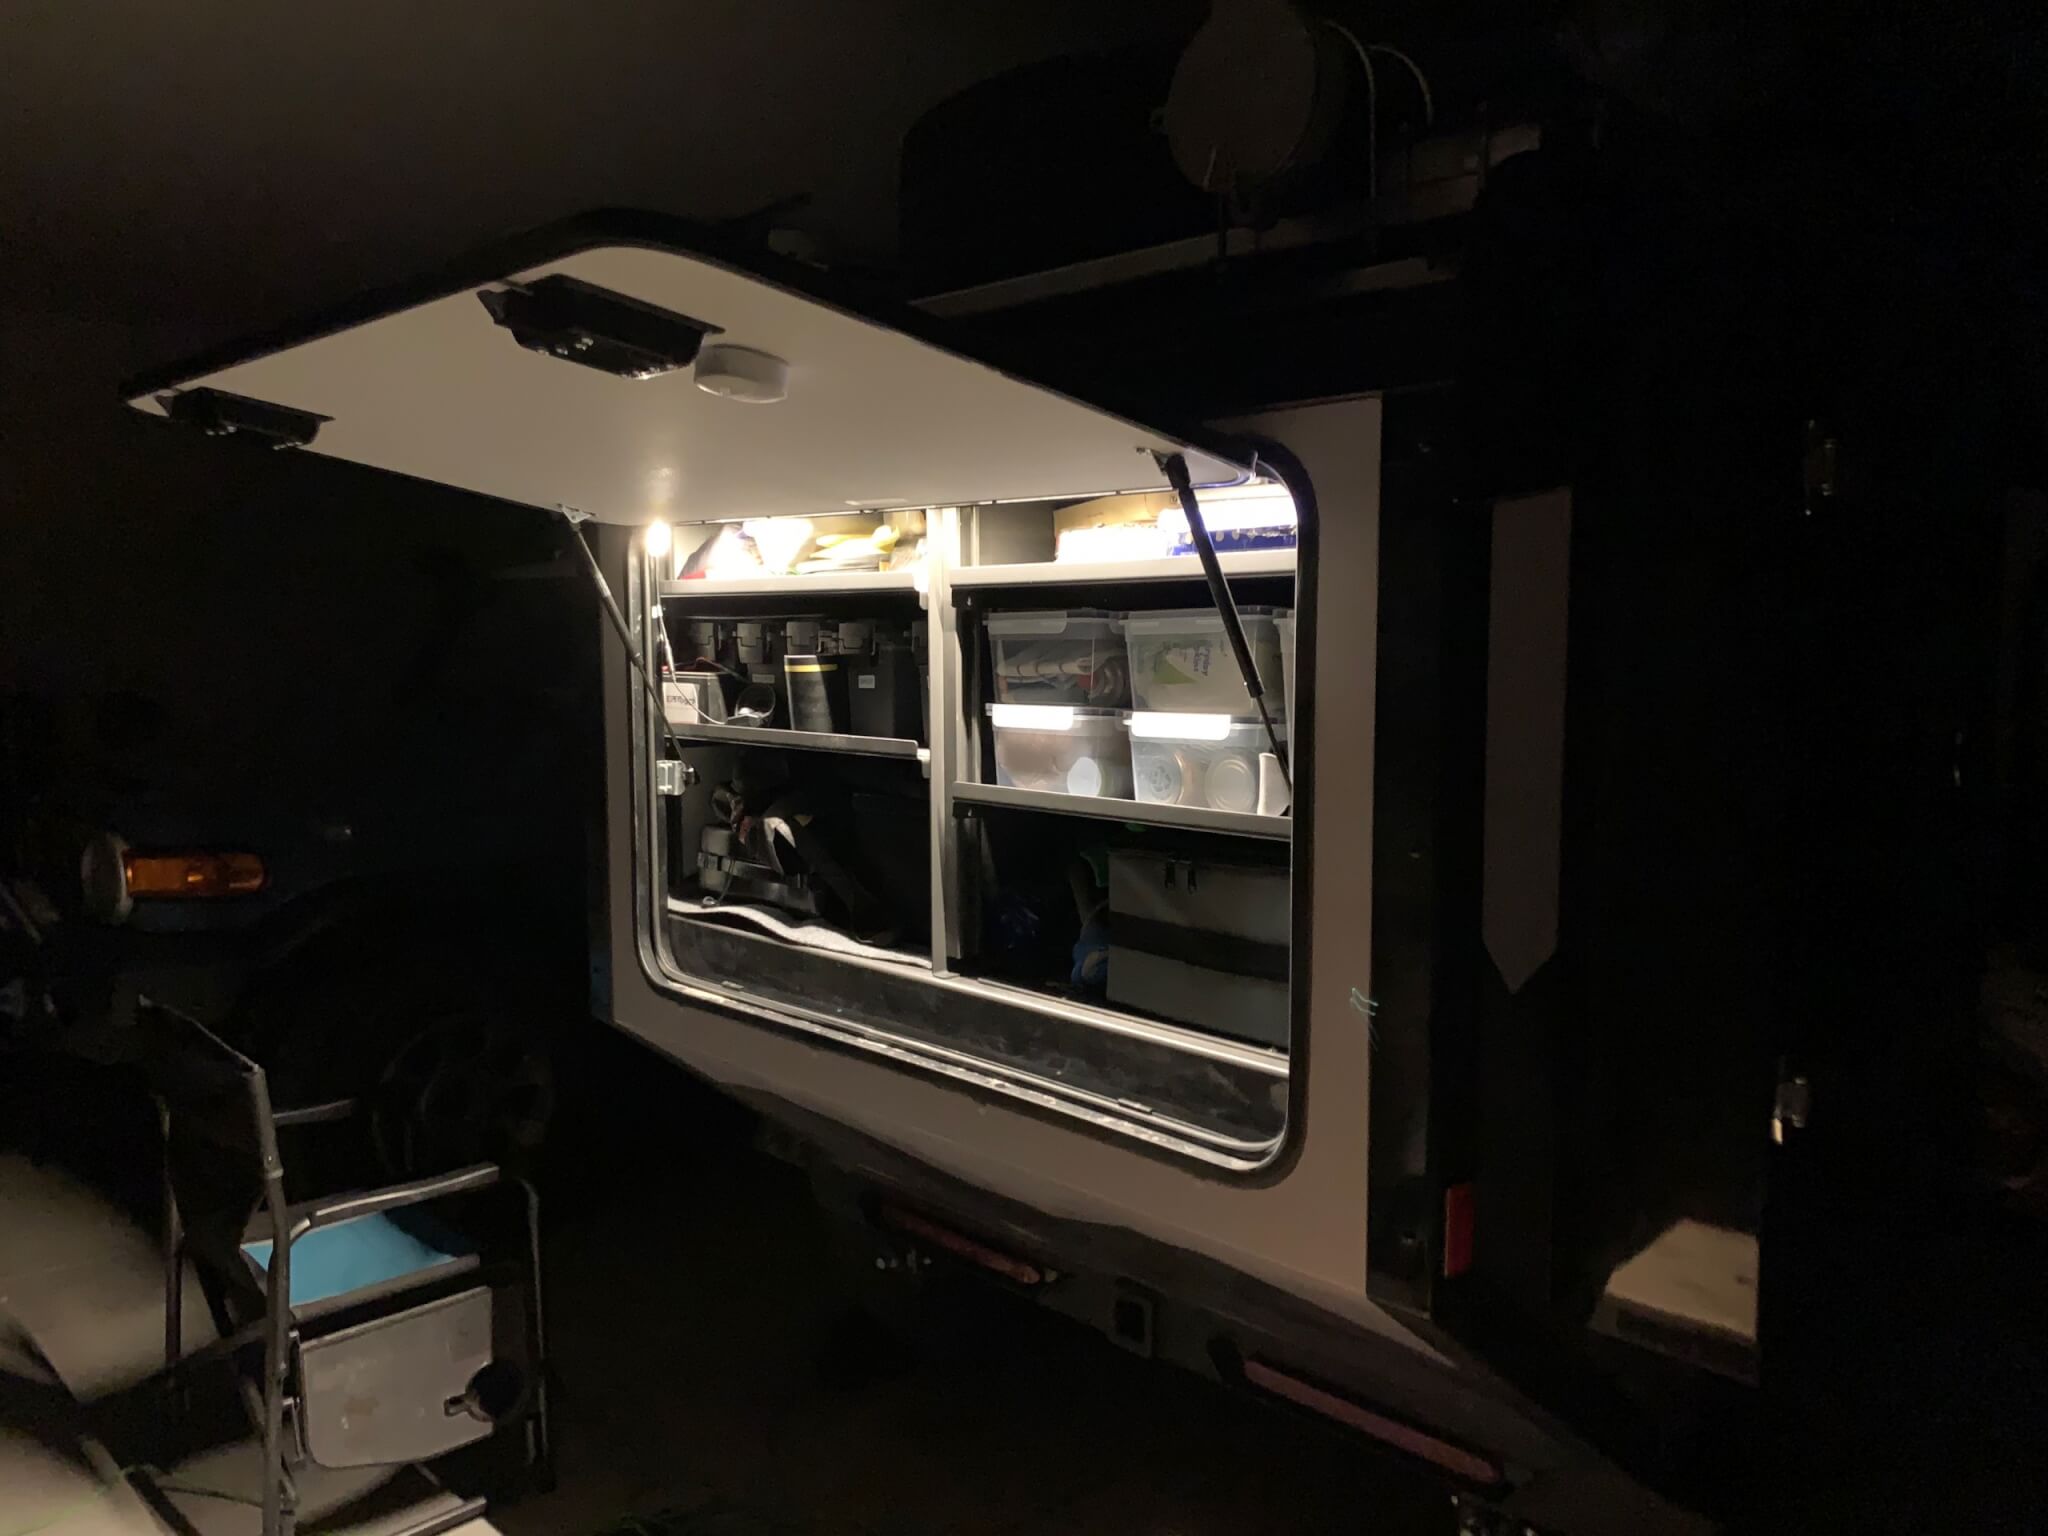
We added two motion-sensing lights. One in the back galley area and one in the fridge storage compartment. These are rechargeable and have a daylight sensor. Also purchased from Amazon. They attach with light magnets.
 Auvon Motion Sensing Light |
 Light on the angled wall. |
Kitchen Box Light:
Velcro to the rescue again. Any under cabinet light with motion sensing, which Amazon sells, will do. This is one I have had for years. USB rechargable, simple, works great.
LED Strip lights are a great way to add low power lighting.
Rear Galley LED:
We added a Warm White strip light to the back galley. It is powered by a rechargeable 12 volt power box. While we could wire this into the trailer directly I don’t think the effort to do so is worth it. The lights come with a dimmer switch.
Parts from Amazon:
Olafus 16.4ft LED Strip Lights Warm White Dimmable – These can be cut to fit
TalentCell Rechargeable 12V DC Output Lithium ion Battery Pack for LED Strip
Cabin Lighting:

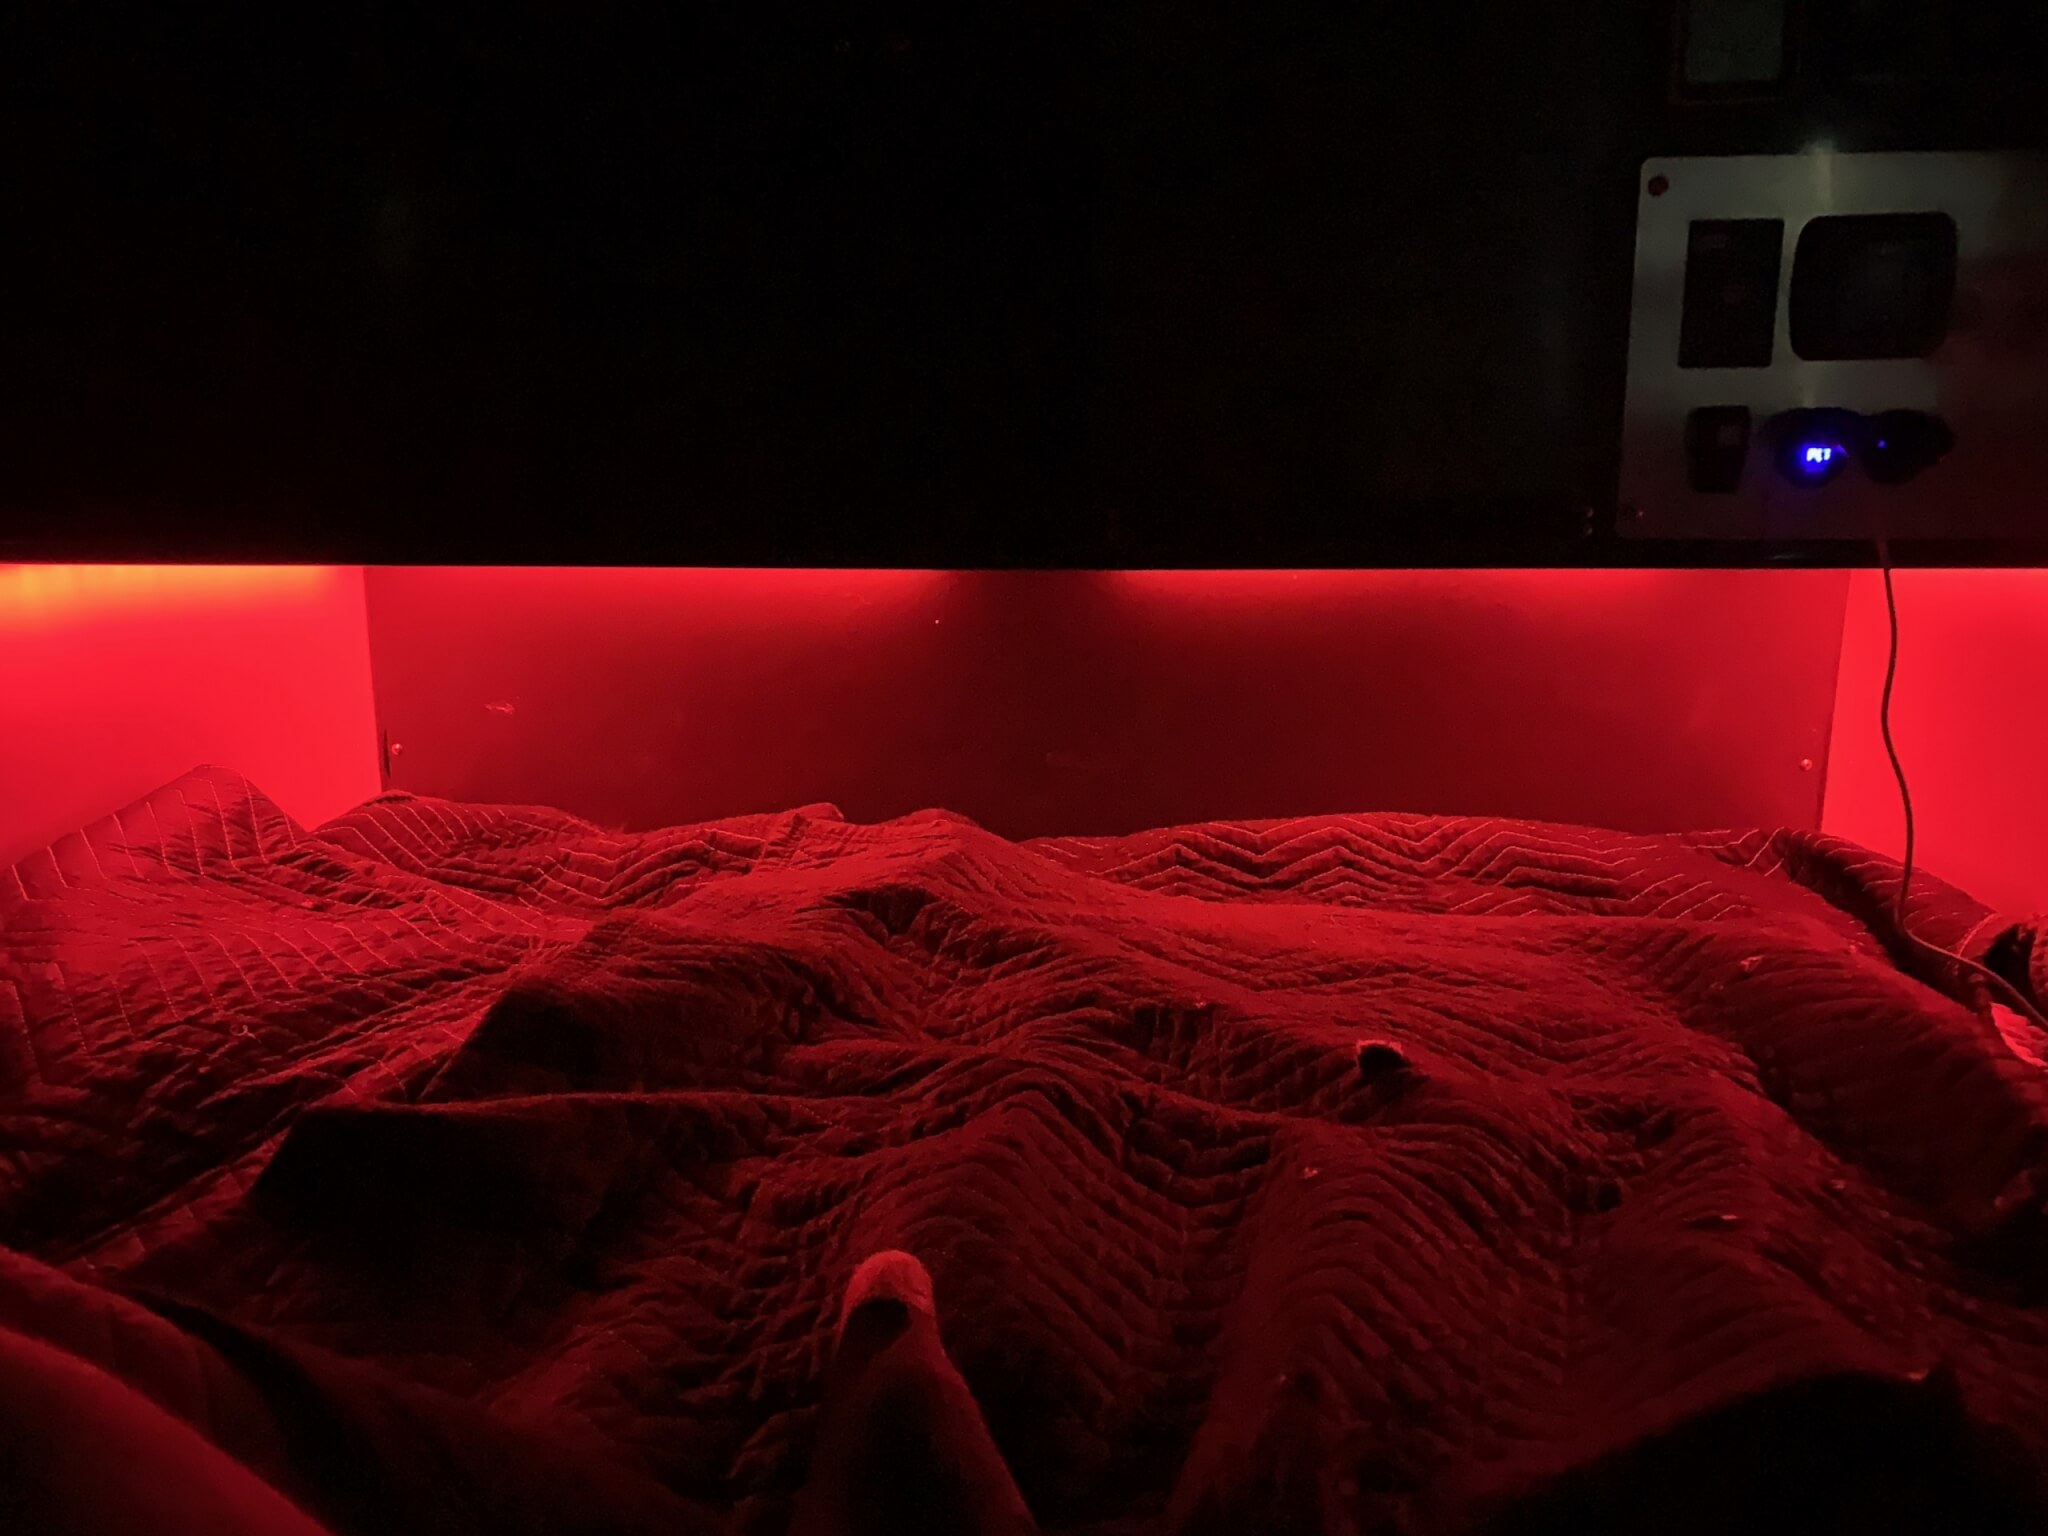
For the interior we wanted LED light that could change color. Red is preferred to keep the bugs down but you can pick nearly any color you like. The only thing you can’t get is a really good warm white. We plug these into one of the available USB ports in the cabin. These lights can be adjusted via the controller or an app.
Govee LED TV lighting – The U shape pattern works will underneath the interior cabinet
Interior Power Port and Thermometer:
The new power port is on the right. The higher power port will charge my devices more quickly. It also eliminates the bright blue LED light on the factory port. I added a basic thermometer as well to compare what the heater was seeing the temp as and what the actual temperature might be. They are usually within a degree of each other. In warmer temps it will be interesting to see what our cabin temp is.
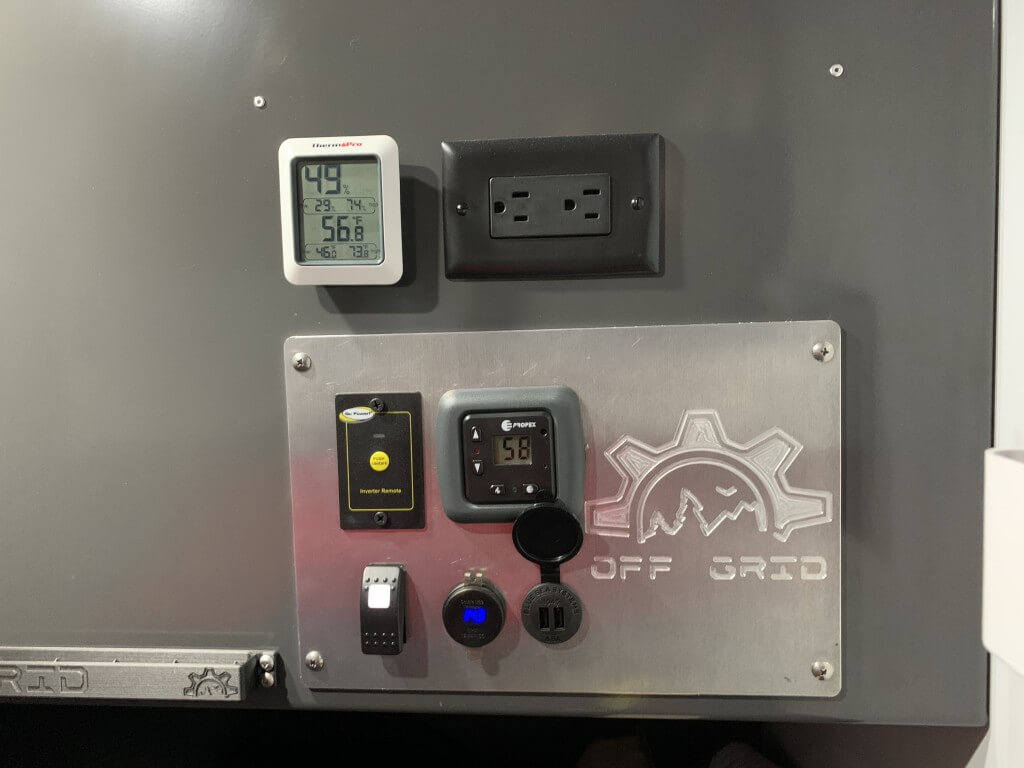
Thermometers –
A new Bluetooth thermometer has been added to the inside and a puck style (no display) has been added to the shower enclosure. Both use the same app by Govee. It works very well. You can see a history of the temperature range and even set alarms for high and low temps. For the shower enclosure we want to make sure the temperature doesn’t get below freezing without draining the water heater. Components are prone to breaking if they freeze. A group of owners is working on a possible DIY solution to keep the box warm. If we come up with something it will of course be added to this page!
Govee Wireless Thermometer Hygrometer
Govee Thermometer Hygrometer with display
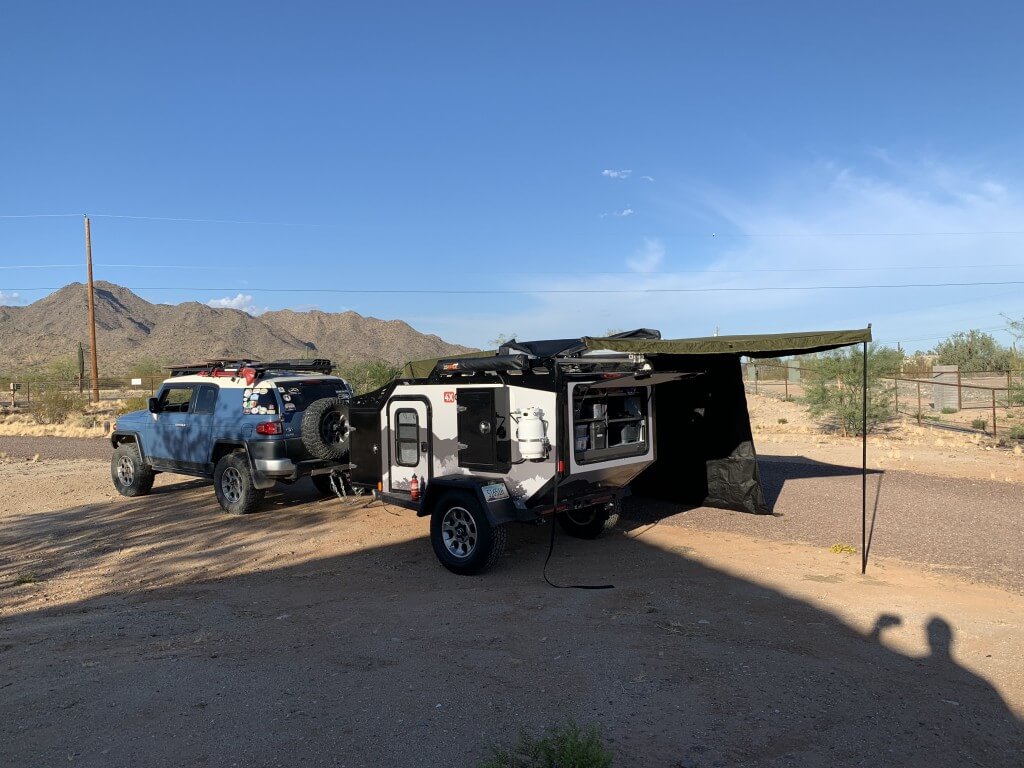
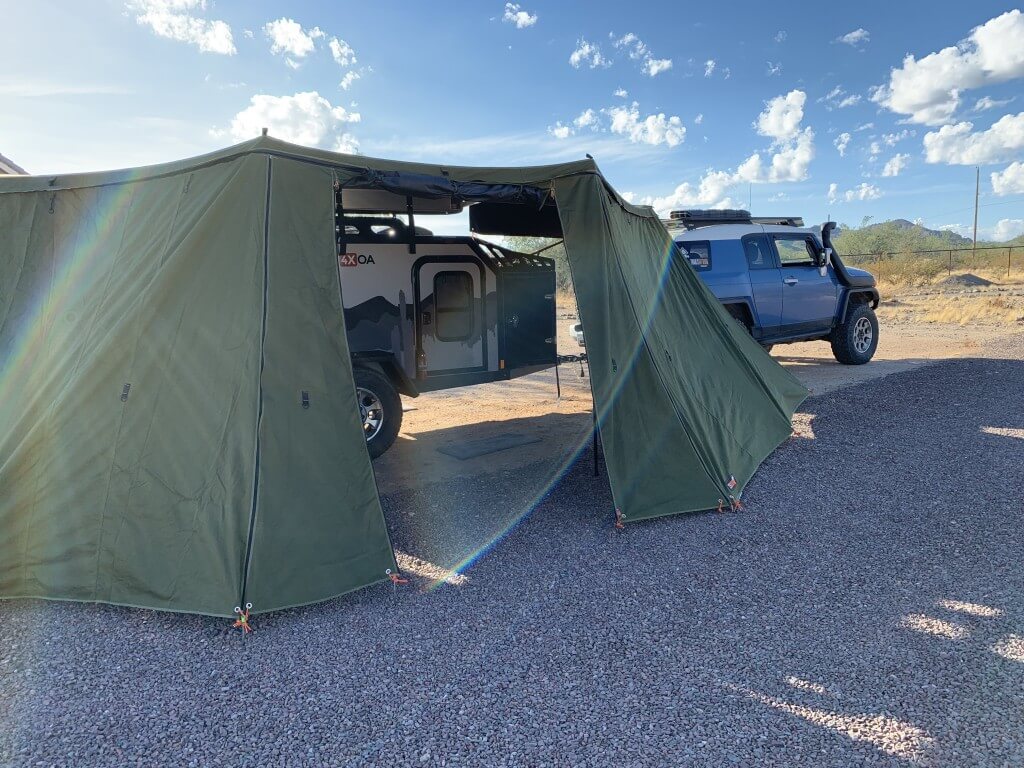
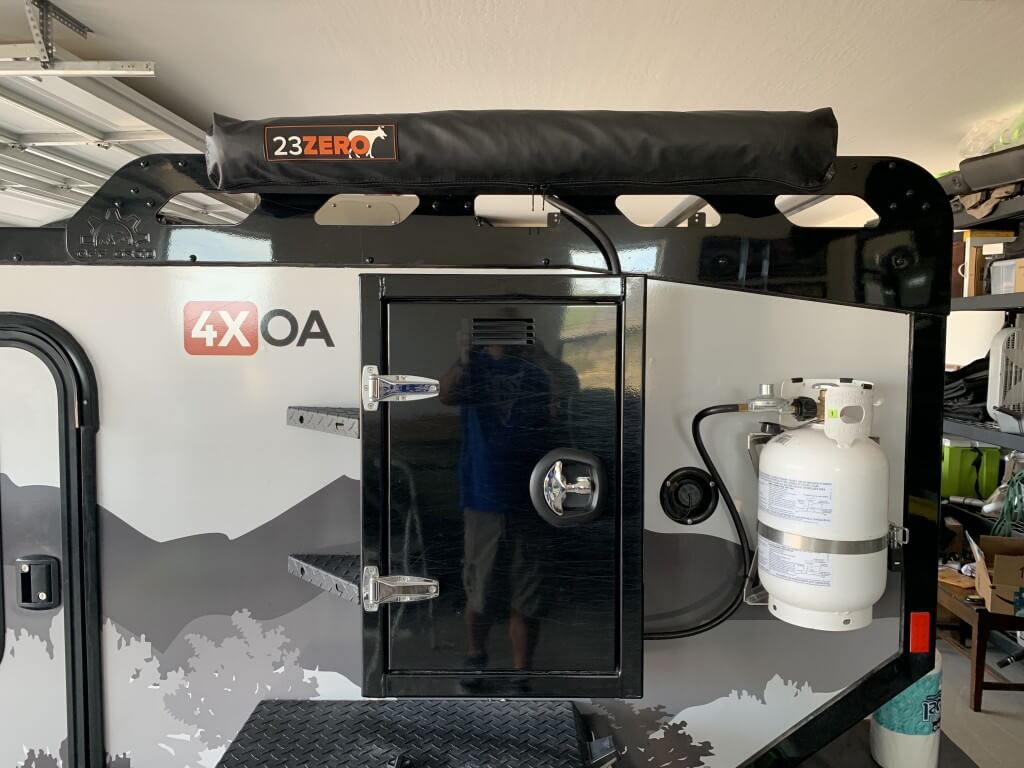
Awnings:
The 23 Zero Peregrine 270 awning and shower room each deserve a separate review. For now, here are a few photos. The 270 awning is very easy to set up and take down. Solo it only took 2 minutes and 15 seconds to open the bag, fold out the awning and secure it. Adding panels takes a few minutes more. With the optional walls, the 270 awning provides a huge covered space to block you from the elements. Note: Both of these are available from Off Grid Trailers. We opted to purchase them separately after deciding what setup we would prefer. Off Grid is also designing a mount for the shower tent which will allow an RTT to be on top and the shower tent below.
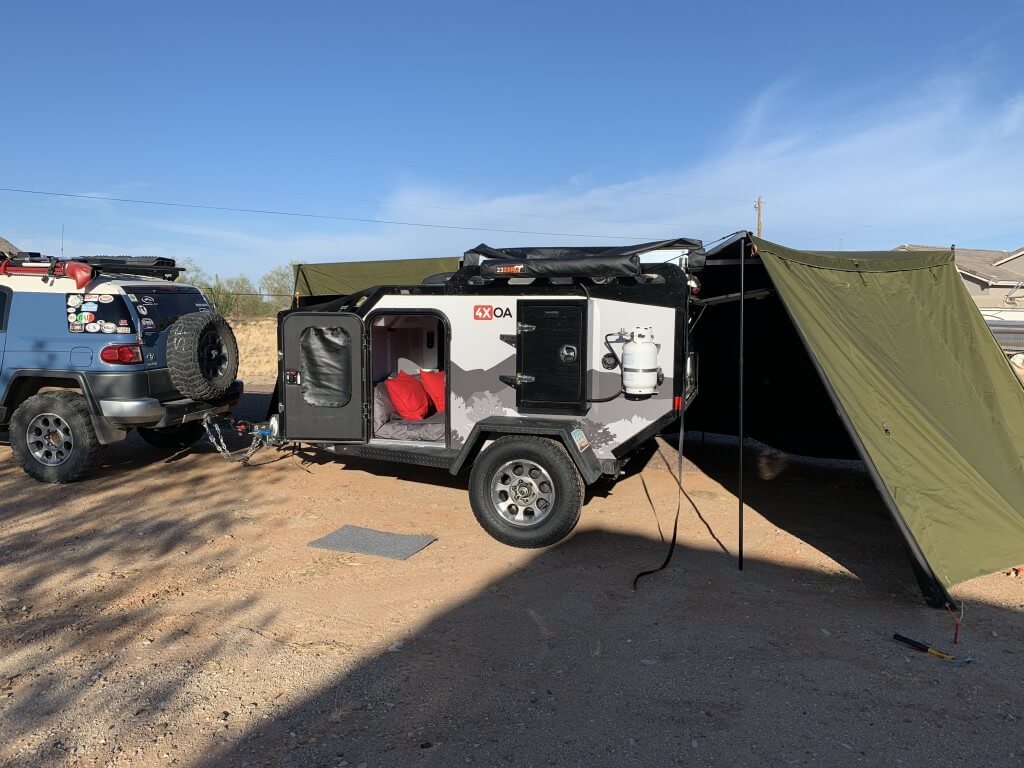
Matching FJ Wheels
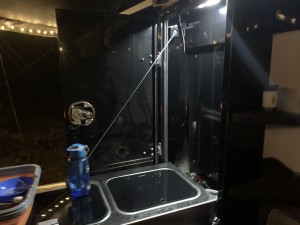
Shower Enclosure:
The new 23 zero shower enclosure takes mere seconds to set up. It can be used as a changing room or even for a portable toilet. There is an opening for the shower box door and 2 storage pockets for shampoo. The bottom is weighted but can also be staked out. The straps along the top rail allow you to adjust the height. Good stuff. This enclosure is now on a swing-out arm to clear our new awning room.
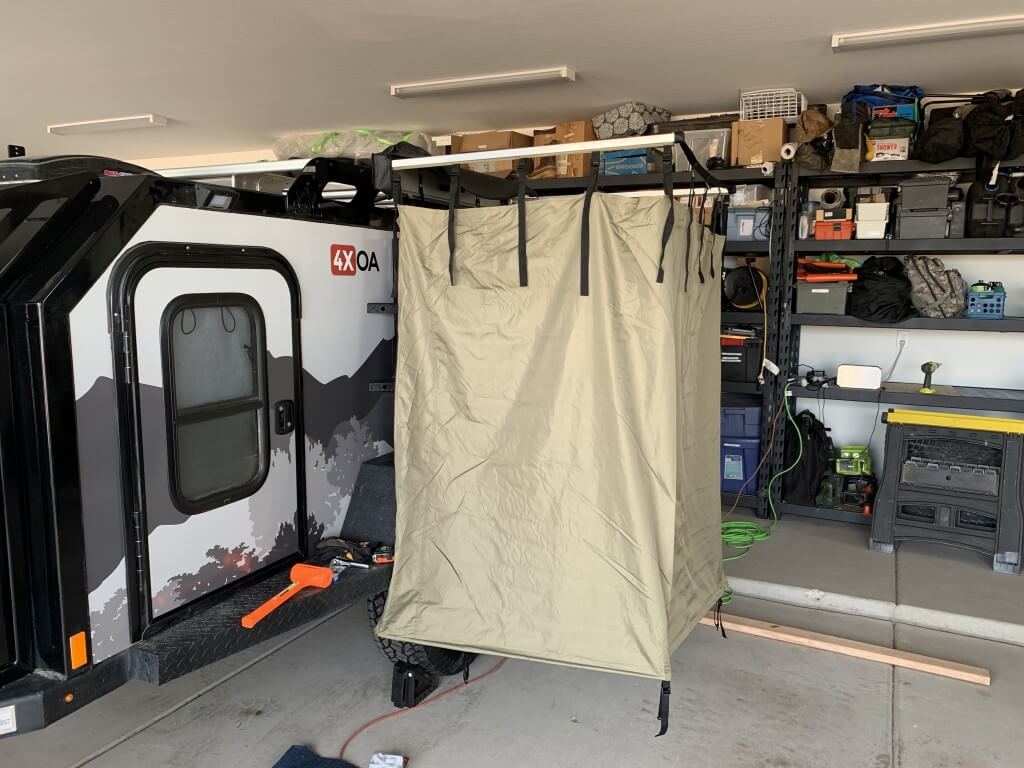
We will take a better shot soon!
Ironman 4×4 Awning and Room:

More info can be found in this article.
Trailer Jack:
Off Grid made a nice improvement to the trailer jack mount. The previous mount was a pin in solution. The new mount is a bolt-on solution. This is much more sturdy. The factory jack was also improved. We just prefer a more rugged setup. One which can allow you to winch the trailer, if need be, with the jack down. Our favorite replacement jack is from ArkPak called the XO Jack. 3 different models are available depending on tongue weight. Installation was easy with only a couple of minor hole expansions to match the trailer mounting plate. The two-wheel jack makes it easy to move the trailer. Especially when on dirt.
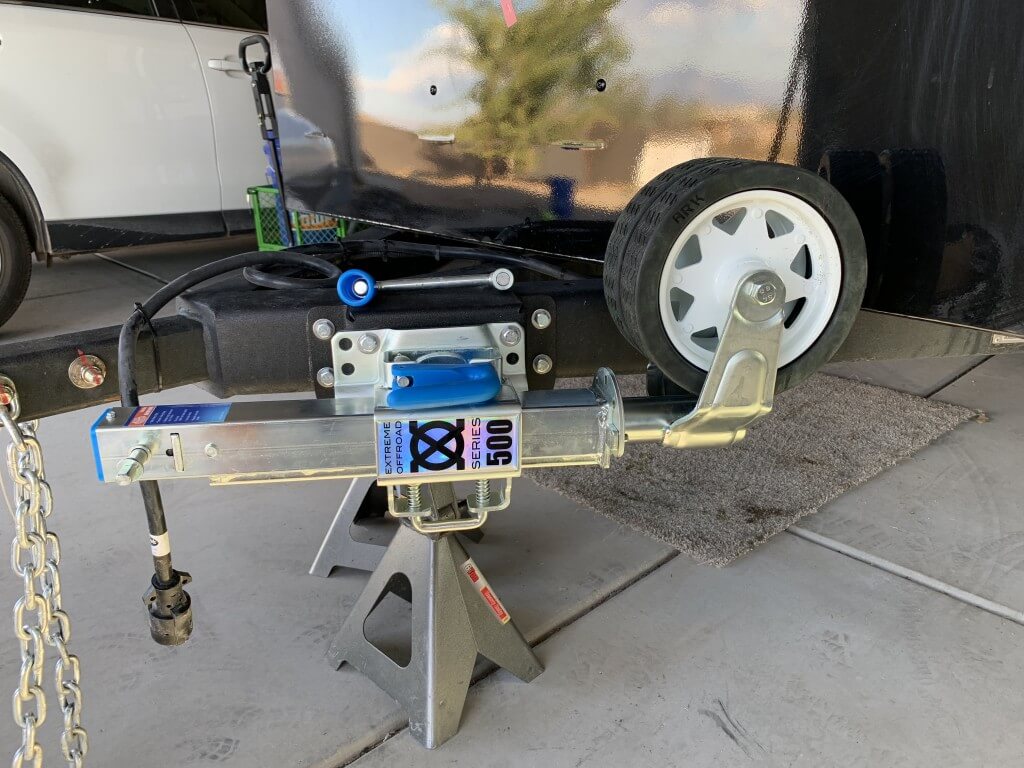
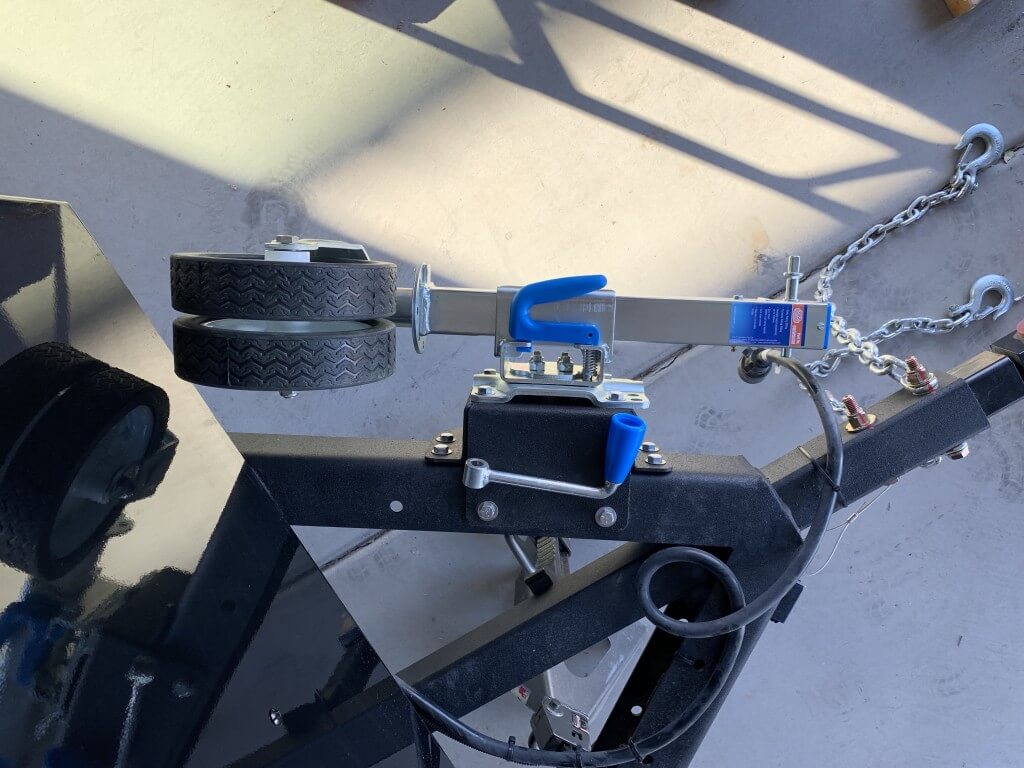
New Factory Mount
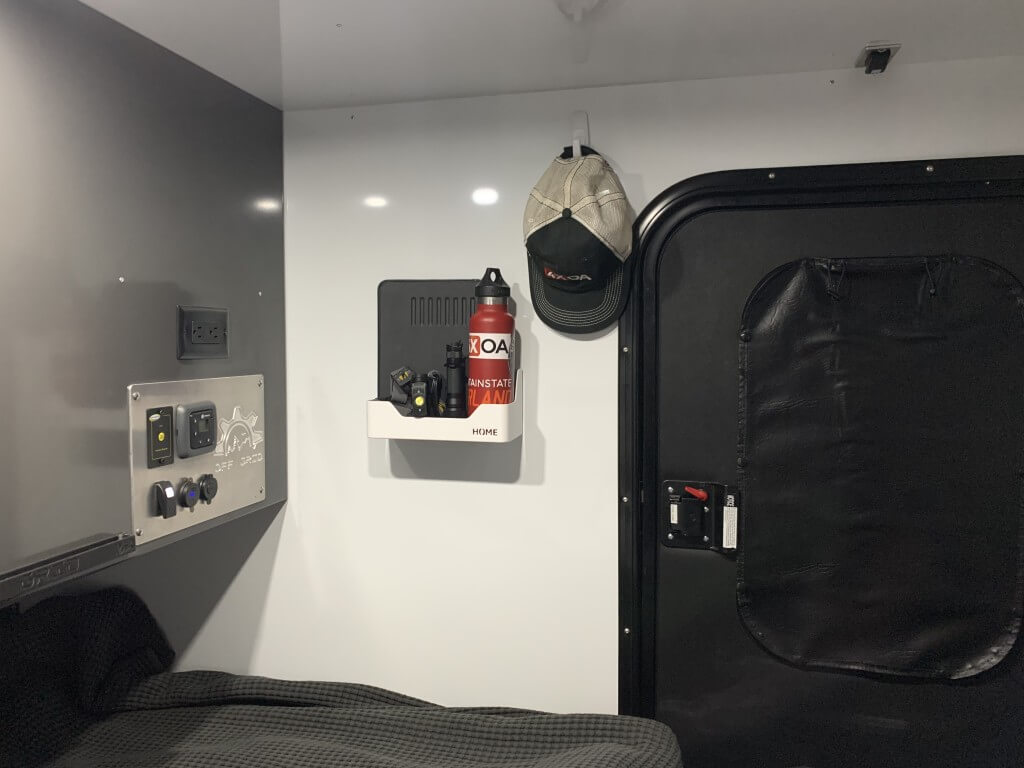
Driver side and passenger side storage cubbies.
It’s always nice to have a place to put your gear when you crawl in to go to sleep. These are attached with Command Strips for easy removal or adjustment.
That’s it for now. Our next post will include a complete setup and trailer walkthrough. The interior storage is huge! As we take more trips there will be more minor changes.
If you have a great DIY mod shoot us a message via our contact form.
Get out and explore!
For more information on Off Grid Trailers visit them online. We are an Off Grid Ambassador. If you are interested in purchasing one of these great trailers we can help save you $500.00 on your purchase.
