
Updated 12/2020 –
Gaia GPS updated the custom map tool. The steps are essentially the same.
This quick tutorial will show you how to install custom maps into Gaia GPS. While Gaia offers a wide variety of mapping options you may have some more specific needs. For this example, we show how to add Google maps to the app. Gaia GPS removed these map layers based on Googles Terms of Service but you as an individual can re-add them.
Ok, let’s get started! The entire process takes less than 5 minutes.
Prerequisite:
First, you will want to make sure you are logged into your Gaia GPS cloud account. So head to gaiagps.com and log in.
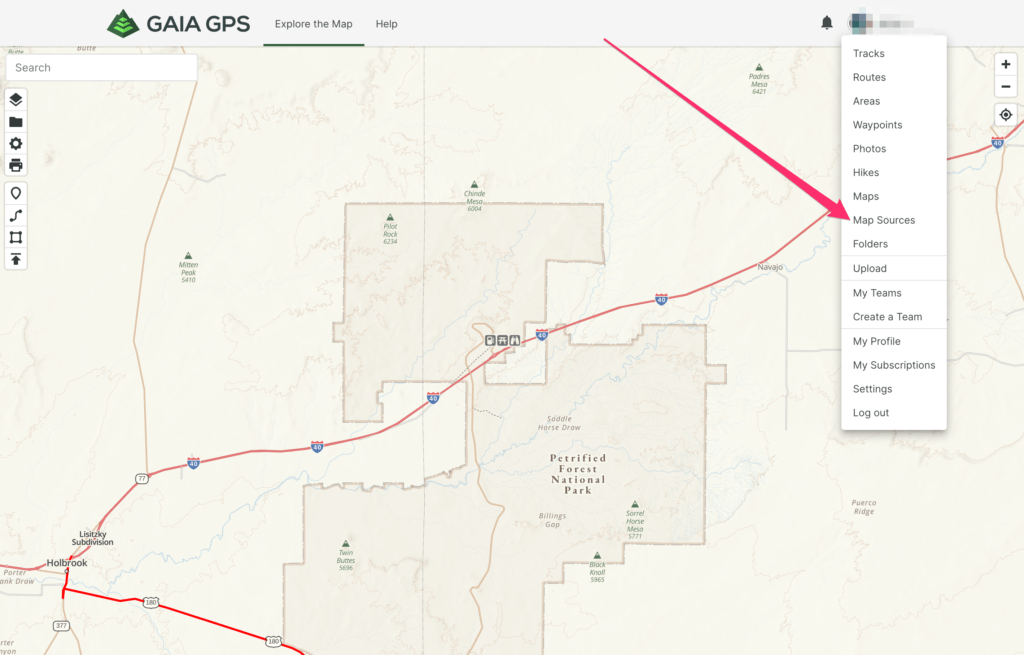
Once you are logged in click this link to add your custom map: Map Sources
You will now be presented with this screen: Select Import an External Map Source

The main dashboard will then appear.

Steps:
Step One: Choose a name for your map import. It could be as simple as Google Roads.
Step Two: Paste in the following code depending on which map type you want. We have listed the 3 most common options.
Terrain: https://mt0.google.com/vt/lyrs=p&hl=en&x={x}&y={y}&z={z}&s=Ga
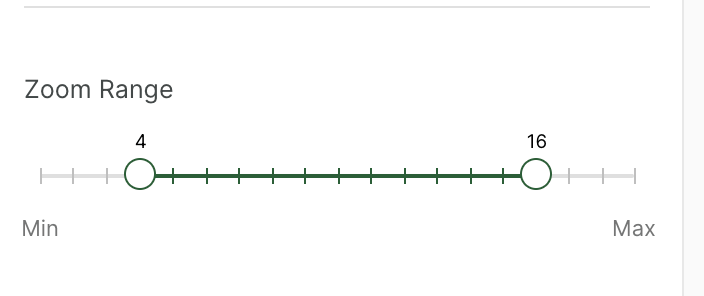
Step Three: Choose your zoom levels. We prefer 9 to 15
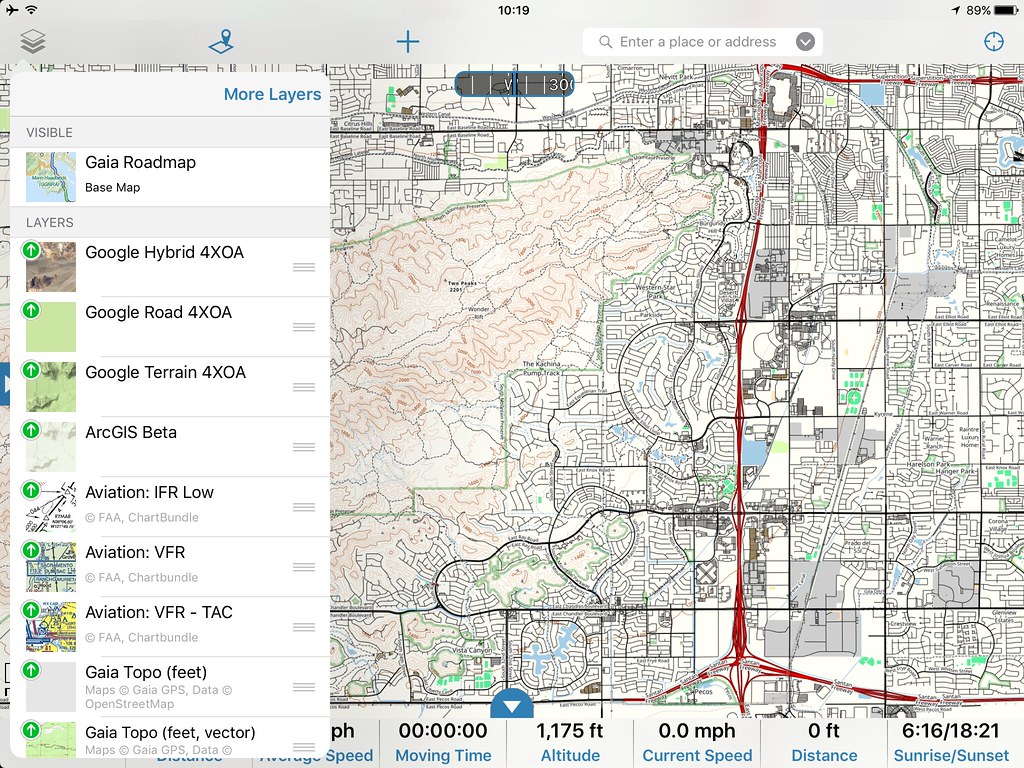
You can see our custom maps in this screenshot.

